
Simple Sales Funnel. Argh, they can get complicated if you’re not sure what you’re doing, right? Sure, there’s a time and place for complicated sales funnels, but by the time you’ve reached that level, you’ve probably got someone in place to manage those for you…
Nope. What I’m talking about here is setting up a simple sales funnel to help automate your sales so you can focus on things like writing more books, creating courses, connecting with your audience, etc, etc. The fun stuff that you enjoy doing.
Table of Contents
In this blog post, I’m going to show you:
- How to create your funnel entry
- What you need for simple sales funnels to work
- All the backend stuff needed
Let’s jump straight in.
How to Create Your Simple Sales Funnel Entry
The first part of setting up a sales funnel is mapping out what yours is going to look like.
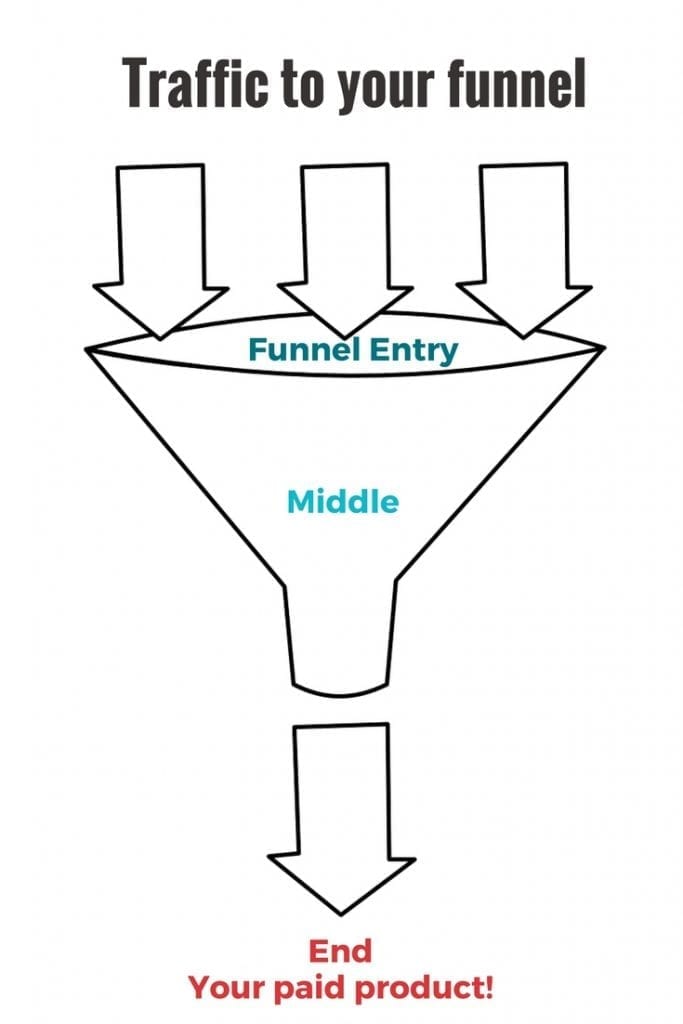
Typically, a sales funnel has a top, middle, and bottom.
The top of the funnel is where your potential customers enter and then they work their way through the middle and down to the bottom, where they can purchase your product or service.
Here’s a visual of what that looks like…
[feature_box_creator style=”1″ width=”700″ top_margin=”5″ bottom_margin=”5″ top_padding=”5″ right_padding=”” bottom_padding=”5″ left_padding=”” alignment=”center” bg_color=”#75d7e1″ bg_color_end=”#0eb9cb” border_color=”” border_weight=”” border_radius=”” border_style=”” font_size=”14″ font_font=”Montserrat” font_shadow=”none”]
ACTION STEP: Take a moment to map out your funnel. Think about every aspect before moving on.
[/feature_box_creator]
Heres some thoughts on what each of those areas might look like for your funnel map.
Traffic
You can’t have anyone enter your funnel without finding your funnel entry, right? So you need to think about how you’ll get people to your funnel entry.
That might include paid and free traffic generation options, such as Facebook advertising or sharing your blog posts inside social media groups.
Once you’ve got some ideas about traffic, it’s time to look at the funnel entry point.
Funnel Entry
For most people reading this blog, your funnel entry is going to be a blog post.
Now, this isn’t going to be just a run-of-the-mill 500-word blog post either. It’s going to be a value-driven post that gives the reader actionable content.
You can check out my funnel entry blog post for my book Side Hustle Blueprint (2nd Ed) book here.
Funnel Middle
The middle of the funnel has a few things going on. This is where you’ll be giving a freebie away in exchange for an email address, at which point your reader enters your simple sales funnel and goes through a nurture email sequence.
We’ll talk more about this process next.
Funnel End
Once people complete your email sequence, they’ll be presented with your final product offering, your paid product or service.
Depending on the paid product or service, and the other assets you have in place, you can also create an upsell and down-sell offer. But neither of these are necessary for your simple sales funnel to work.
What You Need for a Simple Sales Funnel
Ok, now that you’ve got your traffic and funnel entry sorted, we need to get the meat of the sales funnel setup.
This means you’ll need to create and configure the following:
- Landing page/Opt-in page
- Freebie
- Email Sequence
Obviously, there’s a lot involved with these three things. Let’s dive into them a little more.

#1: Landing Page
This is your opt-in page where people will provide their email address in exchange for the freebie you’re offering them.
Keep your landing page simple and remove all navigation so that the only thing they can do on this page is to enter their email address and click a button.
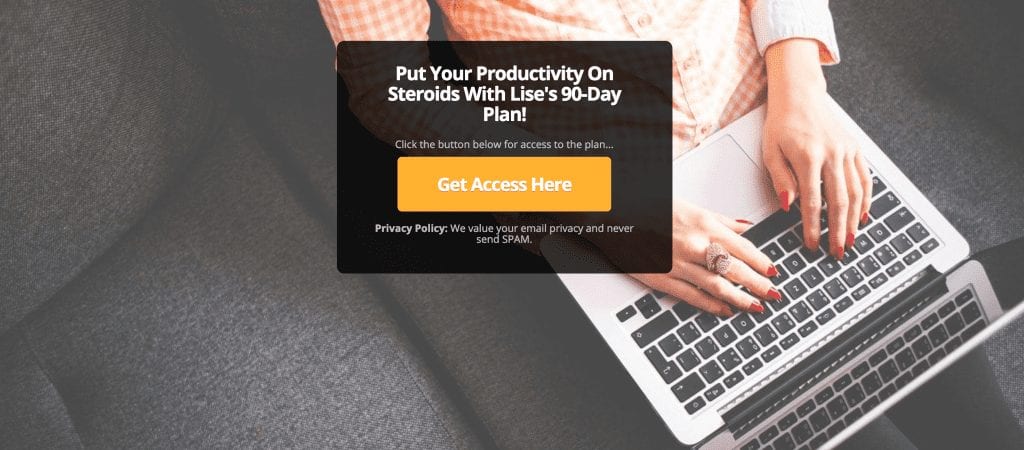
Here’re examples of some of my live landing pages:
[feature_box_creator style=”1″ width=”700″ top_margin=”5″ bottom_margin=”5″ top_padding=”5″ right_padding=”” bottom_padding=”5″ left_padding=”” alignment=”center” bg_color=”#75d7e1″ bg_color_end=”#0eb9cb” border_color=”” border_weight=”” border_radius=”” border_style=”” font_size=”14″ font_font=”Montserrat” font_shadow=”none”]
ACTION STEP: Take a moment now to set up your own landing page for your freebie. Remember, keep it simple.
[/feature_box_creator]
Freebie/Lead Magnet
If you haven’t already, you’ll need to brainstorm your best freebie and then create it.
I’ve written a couple of blog posts on how to do both of these. You can find them below.
Once you’ve got your freebie created, make sure you’ve hosted it somewhere safe and secure — somewhere that you’re not going to accidentally delete it from.
I personally use Dropbox (I have a paid plan and a Terabyte of storage) and have a folder labeled “H&G freebies” so I don’t accidentally delete them.
Once you’ve created your freebie and housed it somewhere safe, it’s time for the next part of the funnel, the email sequence.
Email Sequence
There are several emails you’ll need to create, and they include:
- Confirmation/incentive email
- Welcome email + freebie link again
- Main funnel email sequence
These emails are what make your simple sales funnel automated because once these emails are all set up, you don’t have to touch them… they auto-magically get sent to your potential customers each time they trigger the freebie.
Ok, ok, I know that sounds complicated, but trust me, it’s not, particularly when you see it in action.
Remember, we are keeping our sales funnels simple. This means there are 5-7 emails in total that will go out to your potential customers. We’re also aiming for one email a day.
The point of this email sequence is to teach your potential customer something that adds value and is related to the funnel entry source and the freebie they’ve accessed.
Here’s a suggested flow of emails:
Email 1: Sent immediately after they’ve entered their email details. This email is often referred to as the confirmation or incentive email and should include a link to the freebie.
Email 2: Sent one day later, this email is a welcome and introduction to you plus a link to the freebie again, just in case they didn’t grab it inside your first email.
Email 3: Provide value in the first half of the email. This part of the email sequence is where you’ll introduce your product or service. It’s at this point that you’d offer a discount or special offer with a limited timeframe on it.
Email 4: Provide value, and get people to click links that segment them further inside your email service provider. I do this inside my welcome email sequence when people join the H&G Secret Vault. I ask them to click a link which segments them into three categories:
- Start a side hustle
- Grow a side hustle
- Transition into full-time hustle
Email 5: Hard sell your product or service. Do this by providing a story of how you came to do what you do, mistakes you made etc, then pitch them your product or service.
You could even offer to do a webinar instead that has the pitch in it, it’s really up to you.
If you had a few different products and services at different price points you might follow up with a couple of different emails, based on the action your reader took in Email 5.
For example, say they purchase your product or service in Email 5, the next email they receive (or better yet, do this on the thank you page!) might be an upsell into your higher-priced product or service, at a steep discount.
Another example might be if they choose NOT to purchase your product in Email 5, they the next email they’d receive is a down sell into a more cost-conscious product or service that will still benefit them.
[feature_box_creator style=”1″ width=”700″ top_margin=”5″ bottom_margin=”5″ top_padding=”5″ right_padding=”” bottom_padding=”5″ left_padding=”” alignment=”center” bg_color=”#75d7e1″ bg_color_end=”#0eb9cb” border_color=”” border_weight=”” border_radius=”” border_style=”” font_size=”14″ font_font=”Montserrat” font_shadow=”none”]
ACTION STEP: time to write your email sequences and get it all connected and automated in your email service provider. This part of the process takes the longest, so take your time in getting this right.
[/feature_box_creator]
 As you can see, setting up simple sales funnels still takes a bit of time and effort. Figuring out exactly what to write in your sales funnel might also be on your mind…
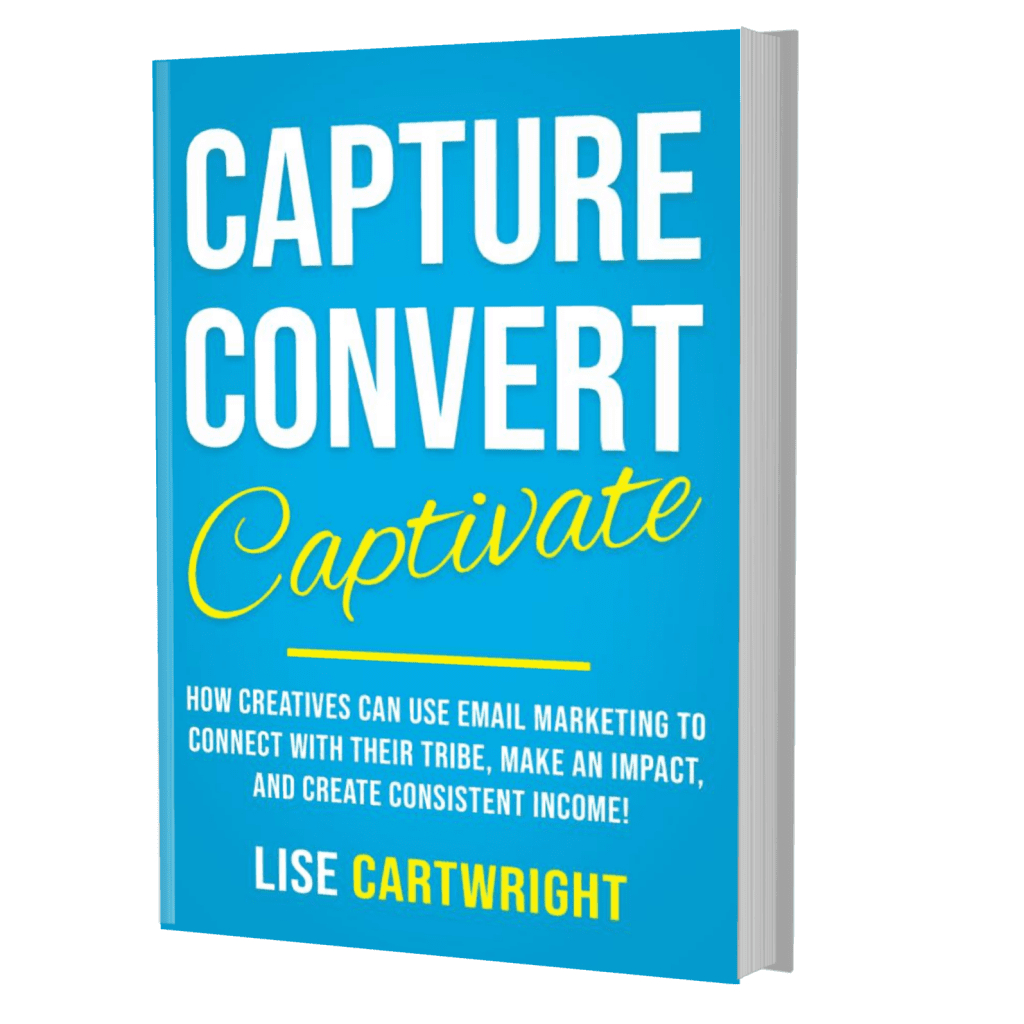
…if that’s the case, then my book, Capture, Convert, Captivate is the answer you’re looking for!
It will walk you through how to set this up as well as how to create a workflow that keeps your customers coming back for me 🙂
Available on Amazon in ebook and print formats.
5 replies to "Simple Sales Funnel: How to Set One Up in an Hour (or less)"
Very useful tips. Thanks for the share.
Thanks Ashlie, I’m glad you liked them 🙂
[…] you truly want to avoid email automation hell, then you’ll take the time to plan out your email funnels. Then, you’ll be able to easily create email automation rules that support your business, […]
Thanks Lise,
Sounds very full on, Is the package I just bought being covered in these packages?
Or something else that still needs setting up first?
Kim
Hey Kim, this particular sales funnel (outlined in this blog post) is for an author who has a book published. What you have bought (Leads on Autopilot) teaches a different funnel and walks you through everything you need. So you don’t have to worry about this funnel at all! Just work through the course you accessed and you’ll be good to go.